Hello!
My name is Christine Emberson and I am thrilled to be on the Scrapbook Adhesives by 3L™ Design Team! I live in England, in the rural county of Kent and work part time for a law firm in London – I rush home to craft!
I was introduced to Scrapbook Adhesives by 3L™ just over a year ago and was immediately impressed by the quality and range of products. Now, I would not contemplate beginning a project without my SAB3L essentials to hand.
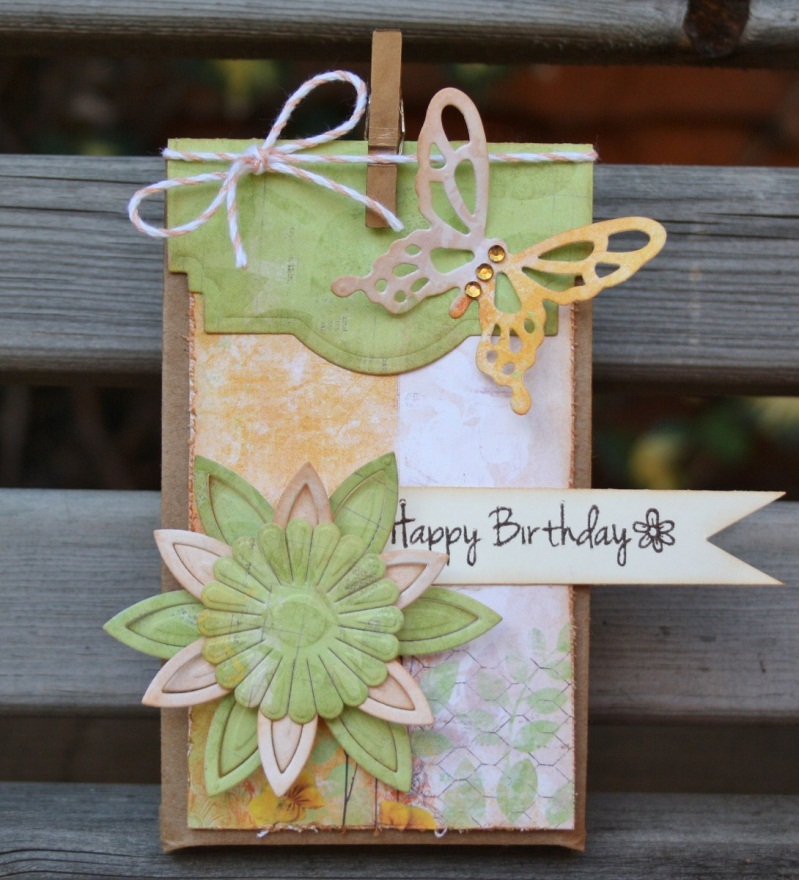
For my very first project, I would like to share with you a gift bag created from an envelope.
Select an envelope and seal closed with My Stik™ Permanent Strips.
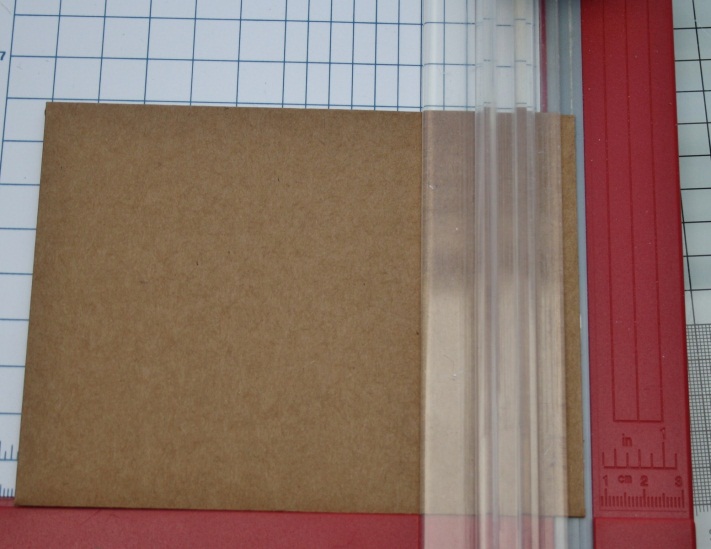
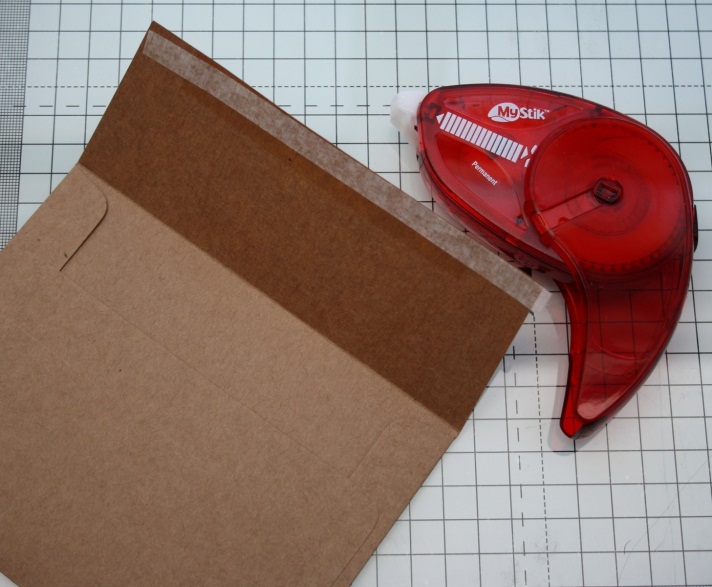 Using a trimmer or scissors, cut the end away from one of the shorter sides of the envelope.
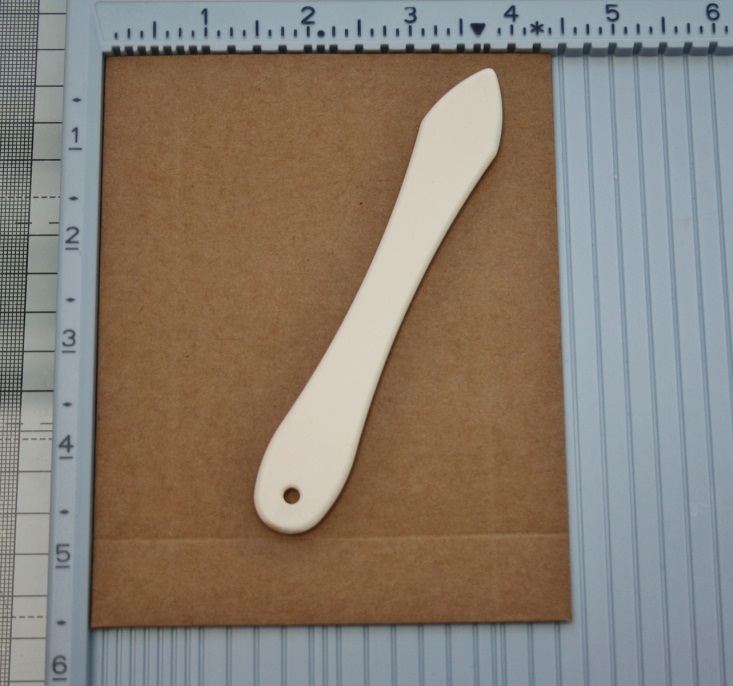
Score the other three sides at approximately 0.5” (not the opening side).
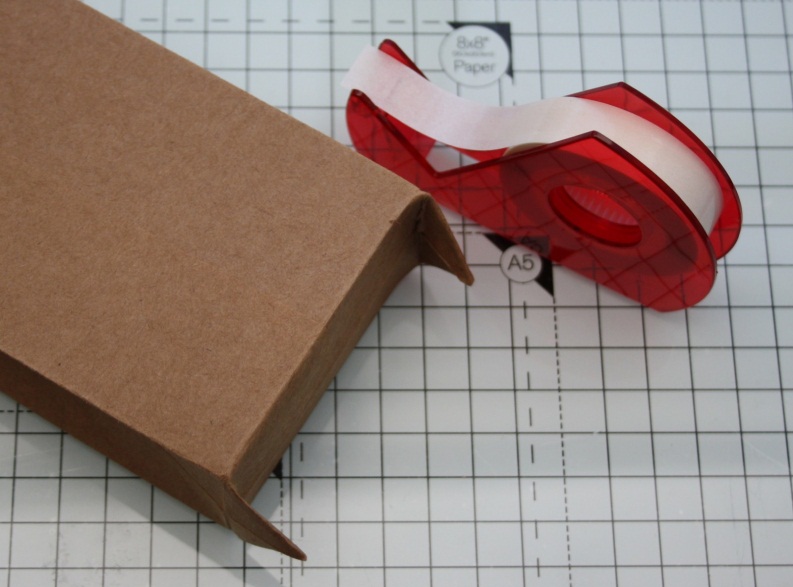
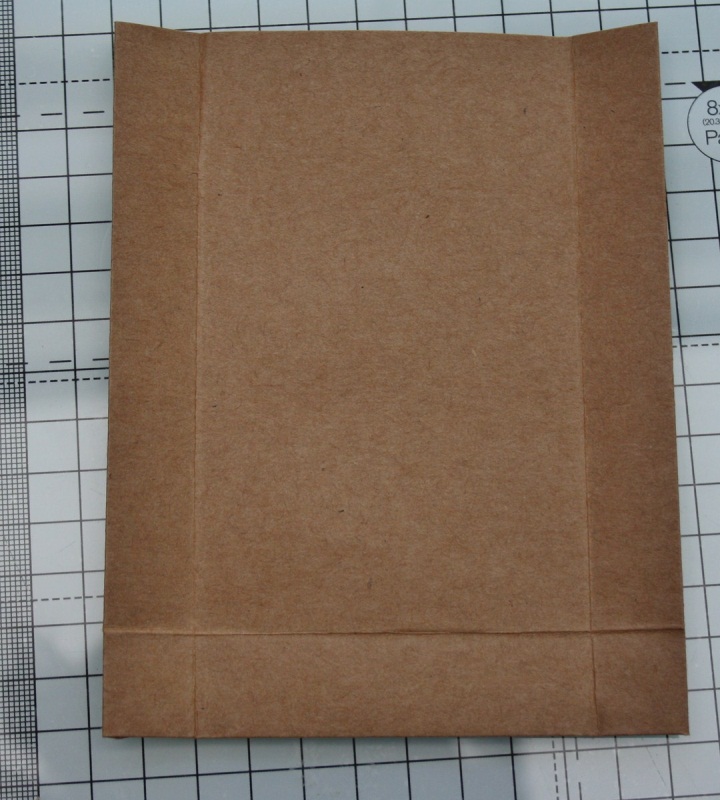 Insert your hand into the envelope and shape to create a gift bag, the side panels slot inwards and the bottom panel sits flat with triangular tabs.
Secure these flat with Crafty Power Tape.
To decorate your gift bag…
The papers I have chosen are Bo Bunny – Country Garden.
I have selected Spellbinders™ die templates – Labels Twenty-Two, Daisy Flower Topper and Wonderful Wings.
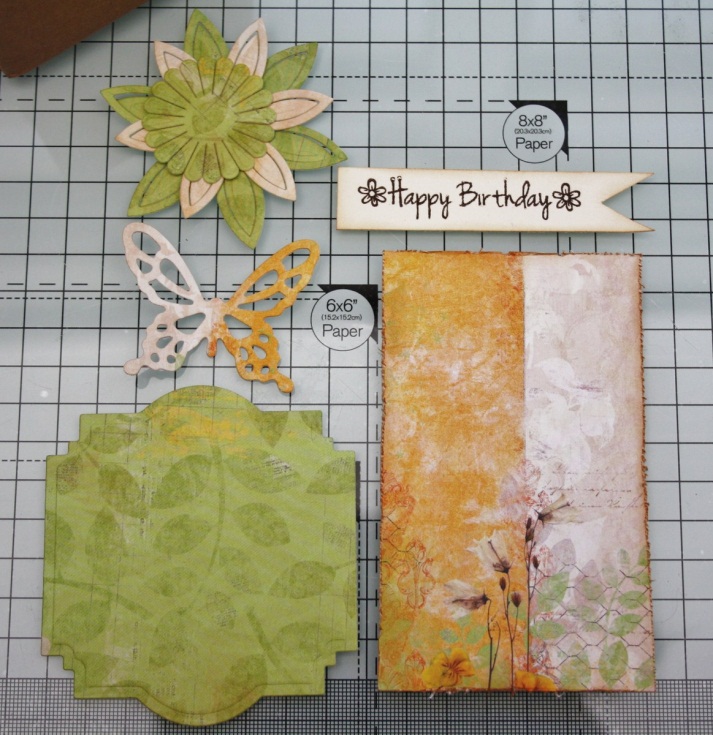
I secured my decorations with 3D Foam Squares White Mix Pack.
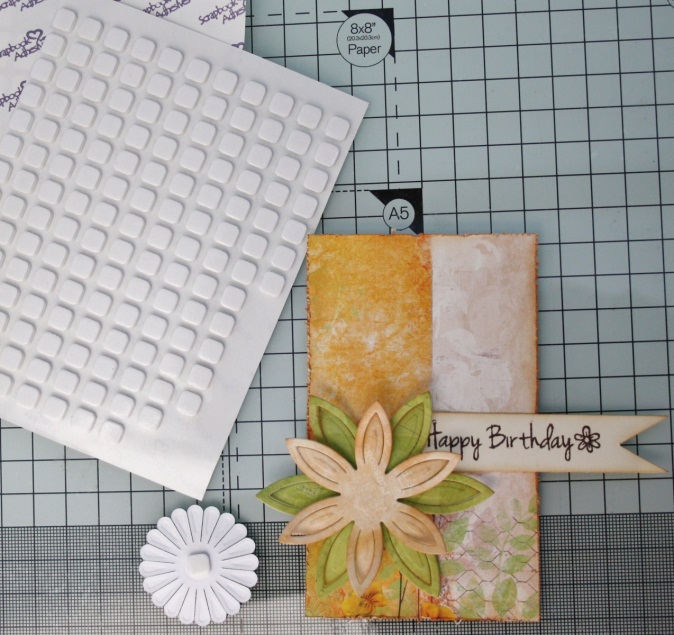 Score and fold Labels Twenty-Two in half, this will create the closure for your gift bag.
Attach twine and adhere to back section of gift bag with My Stik™ Permanent Strips.
When finished, secure shut with a mini peg.
These are the supplies I used:
- Scrapbook Adhesives by 3L™:
- Bo Bunny: Country Garden
- Spellbinders™ Grand Calibur® machine, Labels Twenty-Two, Daisy Flower Topper and Wonderful Wings
- Scor-Pal scoring tool
- Envelope
- Mini Peg


By MargieH April 2, 2012 - 7:19 am
Hi, Christine! Lovely project and many thanks for the wonderful tutorial!
Congratulations to you!!
By Dorina D April 2, 2012 - 11:58 am
What a great project idea and so much cuter than wrapping paper.
By Mandy April 2, 2012 - 12:11 pm
this is pretty neat. Thanks for sharing.
By Debbie Seyer April 2, 2012 - 2:17 pm
Christine, this is a lovely project!!
By conniemelancon April 2, 2012 - 2:27 pm
This is so pretty and from an envelope! Thanks for the tutorial.
By Sue Yorkshire April 3, 2012 - 12:42 am
Thanks for the demo Christine you have made it look so easy. Will have to give this one a try
Sue xx
By Susan Flynn April 3, 2012 - 1:41 am
This is so pretty Christine and you make it look super easy, I am off now to go and find an envelope!! xx
By Kelly k April 3, 2012 - 1:52 am
Brilliant tutorial,the bag looks fantastic.
By hazel April 3, 2012 - 2:24 am
Fantastic Christine love the colourways and dies used. xx hazel
By Lovely LInda April 3, 2012 - 2:36 am
WOW Christine – I love this – thank you so much for the tutorial – such a clever way to use the Dies too! Thanks for the inspiration! {{{hugs}}}
By Adele April 3, 2012 - 3:12 am
Nice tutorial Christine, pity the products used are only for US & Canadian customers !!!
Hugs
Adele
By AnneRD April 3, 2012 - 3:31 am
Lovely project. Great instructions. Anne
By Chloe's nan April 3, 2012 - 4:08 am
Hi Christine, lovely project. Congratulations to you xx
By Margaret Jackson April 3, 2012 - 5:02 am
Lovely gift bag Christine, and from an envelope makes it remarkable. The tutorial will be very much used I am sure, thanks for that.
By Lucy C April 3, 2012 - 6:14 am
This is a great idea, Excellent tutorial.
By Sandra Riley April 3, 2012 - 7:03 am
What an amazing idea Christine,beautifully decorated too, it wouldn’t be a true ‘Christine’ project without your signature Butterfly!
You are so talented Christine and I really admire ALL of your incredible projects!
By Anne Rx April 3, 2012 - 3:12 pm
Hi Christine, love this project, I have tried to do the envelope bag before and it did not work but your method looks so easy, I’m off to try it. Love the butterfly too.
By Melanie April 4, 2012 - 3:33 am
Thanks for the tutorial Melanie
By Kimberly Crawford April 4, 2012 - 2:03 pm
VERY clever idea!! Lovely post! HUGS!
By AJ April 5, 2012 - 11:07 am
AWESOME project Christine!