Hi, it is Christine here today and sharing with you a Rustic Tag project suitable for both ladies and gentlemen.
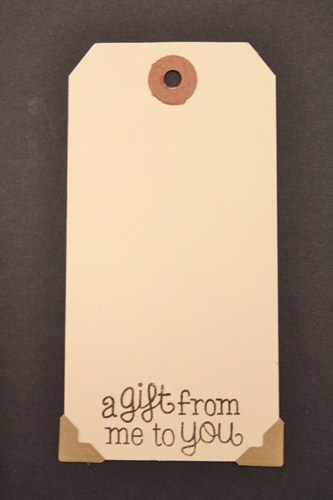
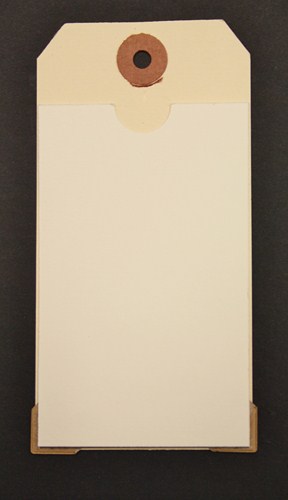
I’ve used a regular manilla tag and applied Creative Photo Corners – Kraft to the bottom two corners. Remember these can be inked and stamped as well for a different look.
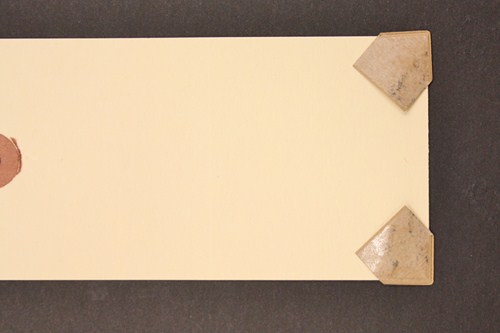
When you flip the tag over it reveals the sticky side of the Photo Corners but that’s not a problem …
Just cut a slightly smaller piece of card for the back of your tag and adhere. This also creates a little pocket, perhaps for a cash gift or note.
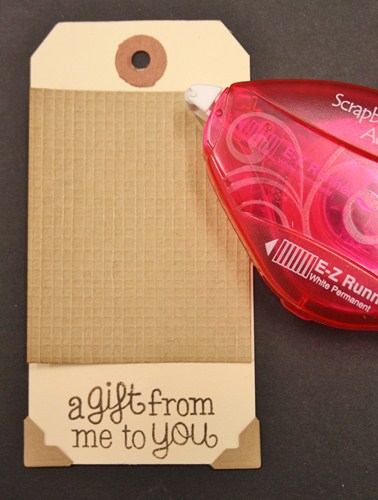
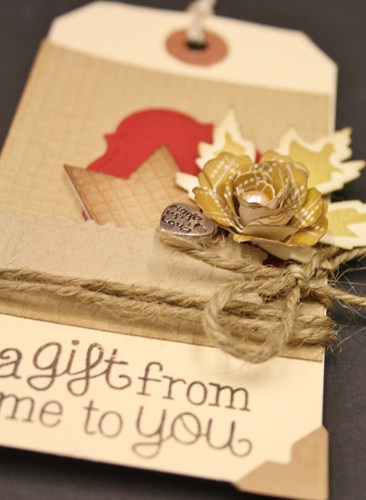
Returning to the front of the tag, I’ve stamped a sentiment – this is from Lawn Fawn – Winter Gifts stamp set. I’ve also cut a small piece of woven paper from DCWV. Attach this with E-Z Runner Permanent Strips Refilliable – using this makes all projects speedy and with perfect adhesion!
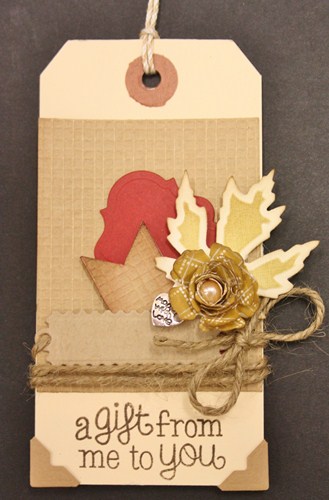
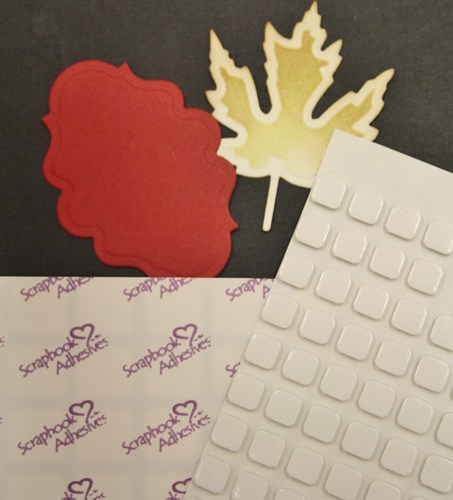
 Continuing with decorating the front of the tag I’ve chosen to apply some die cuts – Labels Thirty and Fall Foliage. These are placed exactly where I want them with 3D Foam Squares – White, Regular.
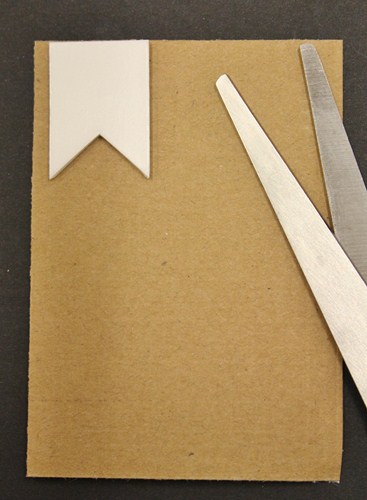
Taking one 3D Foam Pennant, I placed it onto a piece of the woven paper and cut around with scissors. Very simple to do but looks effective.
It is nestled among the other embellishments including the natural twine and adds further layers and interest.
Also included is a Bitty Blossom, again affixed with a 3D Foam Square – I cannot resist a flower!
Thank you for joining me today and happy crafting!
Christine

By Lynn Hardy January 19, 2014 - 12:10 am
What a lovely tag! The pocket on the back is a great idea for a more personal note or a cash gift. I love all the dimension on the front too, from using foam pads to raise the die cuts – I’m always doing this when I make cards!
By Christine Collins January 19, 2014 - 1:20 am
A lovely rustic tag by Christine. Its lovely to make your own tags for presents because you can personalise them to suit the person you are giving them to. Christine makes such beautiful tags that give us great inspiration and ideas that we may not have thought of.
Thank you Christine. X
By Maggie January 19, 2014 - 1:38 am
Hi Christine, what a beautiful little tag with the surprise pocket on the back ~brilliant! Hugs,
Maggie x
By Janice January 19, 2014 - 1:49 am
Lovely tag Christine, and a great tutorial – thank you!
Janice x
By Mrs B January 19, 2014 - 2:04 am
Hi Christine. Such a pretty tag. I love the pocket on the back too, ideal for cash or a gift card. You always come up with something a little different, and then show us “How to…..” in your easy to follow step by step tutorial. Thank you. Take care.
By Anne O January 19, 2014 - 2:44 am
Hi Christine
What a pretty tag. I like the way you’ve brought together disparate items to create the focal point.
Best wishes
Anne O
By Carole Z January 19, 2014 - 2:56 am
Hi Christine, love this tag and so pretty…it really does have rustic charm and your tutorial is brilliant, Thank you! Carole Z X
By margaret driscoll January 19, 2014 - 3:25 am
Hello Christine
I love how you make a plain tag so pretty!
The inspiration is so useful to me too!
Love the Bitty Blossoms!
Love Marg
By Lucycat January 19, 2014 - 3:47 am
This is a really lovely tag,and a brilliant tutorial, you give us so many great ideas. Thank you.
By Phil D January 19, 2014 - 3:48 am
So lovely Christine. You instructions are so clear and inspiring. Having a pocket on the back is a super finish
Phil D
By CornishEmma January 19, 2014 - 3:49 am
Gorgeous tag and design x
By Jean Zelei January 19, 2014 - 4:14 am
Hi Christine love the tag so pretty and you make it look so easy all my love Jean Z xxx
By Loraine Cheshire January 19, 2014 - 4:25 am
What a clever idea for a tag and comprehensive tutorial, beautiful x
By Heather January 19, 2014 - 4:50 am
Hi Christine… you made a plain tag into a work of art. Love the little pocket on the back and all the clear instructions.
x
By Patricia Howarth January 19, 2014 - 7:05 am
Hi Christine, This tag is brilliant, loving the little pocket at the back, so useful for putting a little money in, and the front is beautiful, you always know what ‘works’, also loving the little metal embellishment.
Lots of love from Patricia xx
By Ros Hodgkins January 19, 2014 - 7:13 am
Hello Christine, love the way you have turned a plain manilla tag into a gift in its own right.
By Deborah S January 19, 2014 - 10:46 am
Christie what a great tag and thanks for taking the time to show us a tutorial of the steps to get there have a wonderful day
By Christine Smith January 19, 2014 - 1:07 pm
Gorgeous tag and the pocket on the back is such a good idea! xx
By Elaine January 19, 2014 - 3:22 pm
Beautiful tag Christine, just love the stlye x
By Anne R Davies January 19, 2014 - 5:33 pm
Lovely tag and great tutorial Christine.