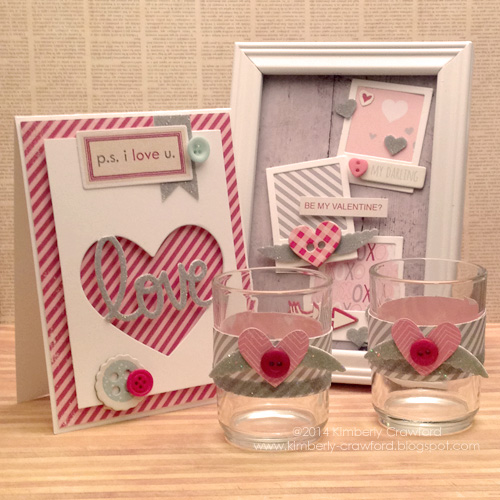
Hello! Anyone else freezing cold? Me too. Hopefully this heartfelt Valentine’s Day decor will warm you up! I am thrilled to be sharing my CHA artwork from the Scrapbook Adhesives by 3L® booth!
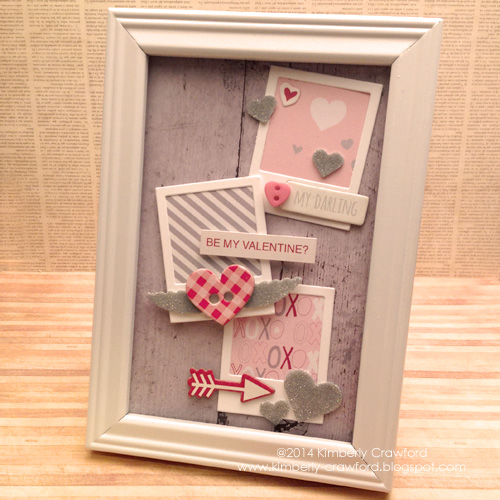
This ensemble started with this white 4×6 photo frame. Perfect for setting anywhere in your house for a little touch of the season.
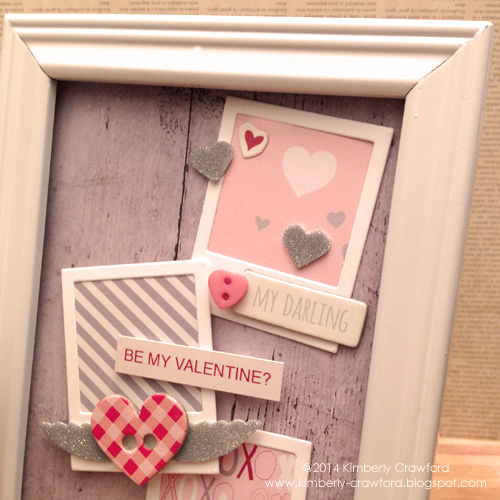
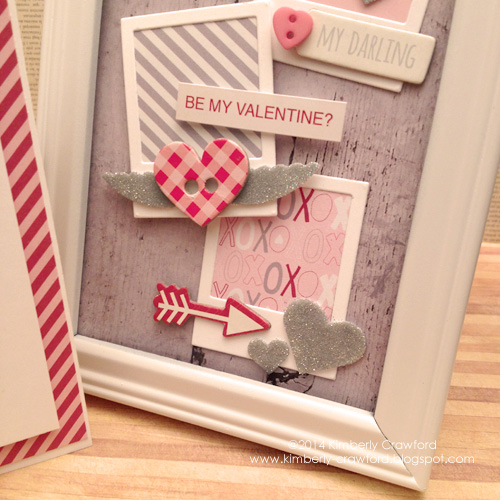
The glittery hearts were easy to make with 3D Foam Hearts. I apply my foam hearts to a separate backing piece, pull the top backing piece off and cover in glitter. Be sure and burnish, or gently rub, the glitter into your adhesive to ensure it stays in place. And with these adhesives, it will.
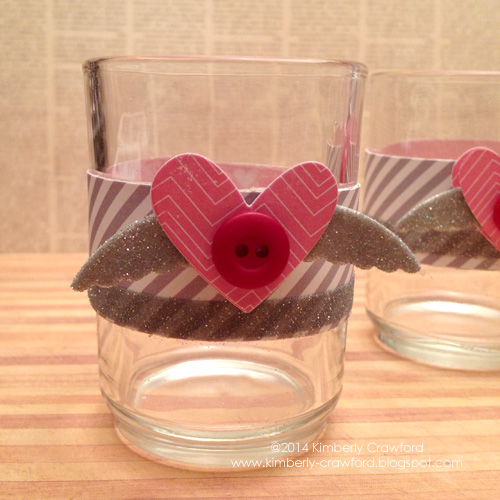
The 3D Foam Wings (these help support Charity Wings. so wonderful.) were begging to be used on this project. Again, I added glitter. How cute are they behind the heart button?
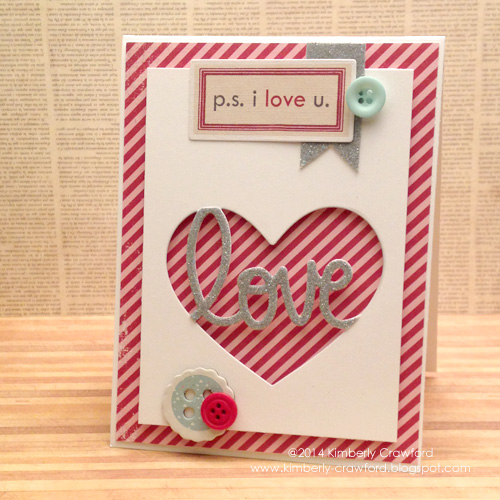
If you aren’t into decorating, how about sending a Valentine to your sweetie?
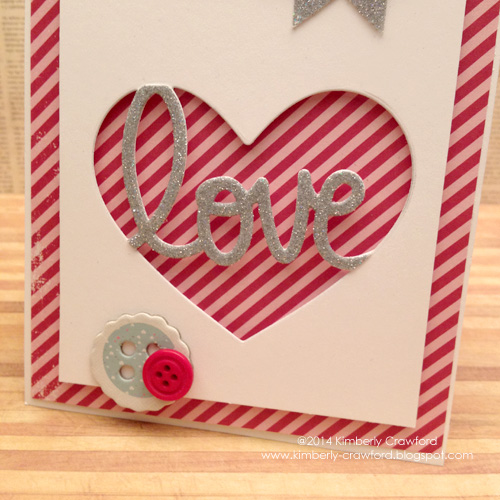
Knowing I wanted to continue with the glitter look, I created a sheet of glitter cardstock for using on this card. For a tutorial on how to create your own glitter paper, check this out, DIY Glitter Paper.
Then I die cut a panel of white cardstock with my heart/word die template. I die cut the same image again from the glitter cardstock, trimming the word love away. And because I had an adhesive-backed piece of cardstock, it was simple to adhere it in the exact spot.
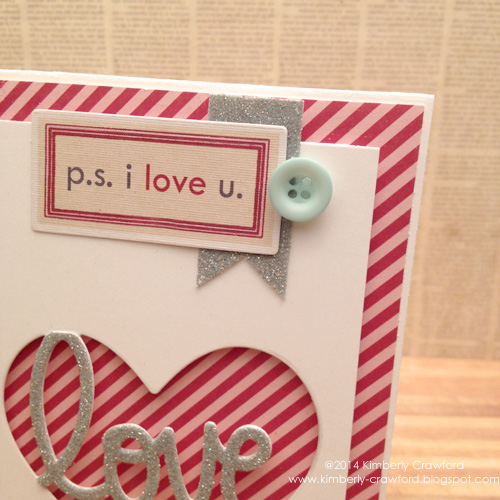
Using my glitter cardstock again, I cut a strip and notched the end.
My trusty Adhesive Dots Small held all my chipboard and button pieces in place.
And finally, a couple of small candle holders that I thought would be perfect to hold Hershey kisses. Where are the kisses? I don’t know…hides wrappers…
After covering many round objects with paper, and not having much success, I think I have finally figured it out! I applied an Adhesive Sheet to the back of of my strip of patterned paper. Then I adhered it to the container. But before I adhered the end, I added a strip of Crafty Power Tape to the very, very end and pressed firmly. Yes!
I added a strip of Crafty Power tape around the paper and added more glitter. Then another heart, more wings, and a button. It all sounds so easy, but it really was with all these awesome adhesives!
thanks for stopping by!
Supplies: Adhesives-Scrapbook Adhesives by 3L (3D Foam Hearts, 3D Foam Wings, 4×6 Adhesive Sheets, Crafty Power Tape, Adhesive Dots Small, E-Z ® Runner Permanent Strips Refillable, 3D Foam Squares White Small) Patterned paper, chipboard, stickers-Fancy Pants (Be Loved), Die templates-My Favorite Things (Precious Polaroids, Staggered Heart Border), Glitter, Accessories-Frame, Candle Holders (Michael’s)

By Lucy E. January 25, 2014 - 9:54 am
These decorations are all so pretty! I love the pink, white and silver/gray combo. Love those wings!
By Rox-Ann January 25, 2014 - 12:00 pm
Wow awesome job this is a beautiful ensemble!!