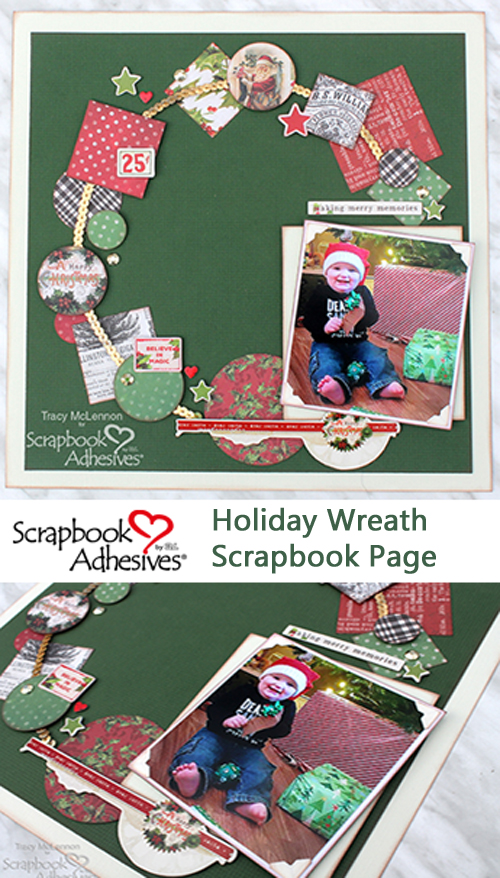
Welcome back, crafty friends! Tracy here, and today I have a fun and easy to create Holiday Wreath Layout to share. Christmas is right around the corner, and I’m sure for some of you the festivities have already begun. It’s a time for family and friends to be together and with that comes lots of holiday photo ops. That’s why I thought I would share another fun and easy holiday layout.
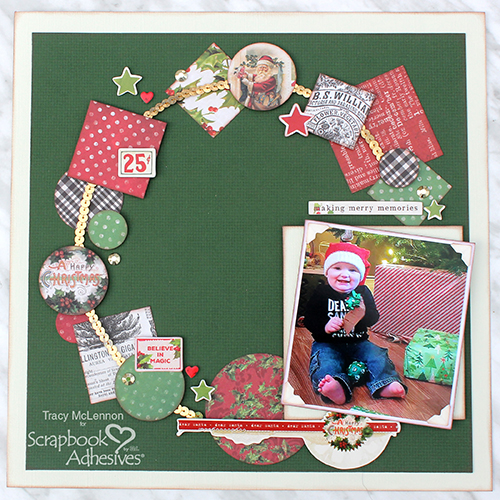
Holiday Wreath Layout Details
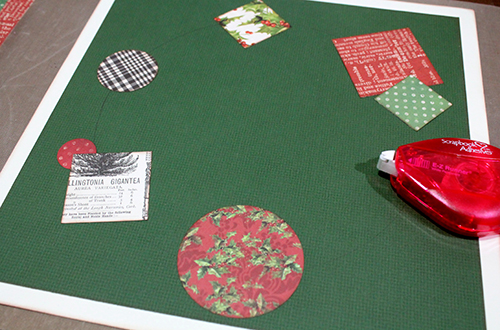
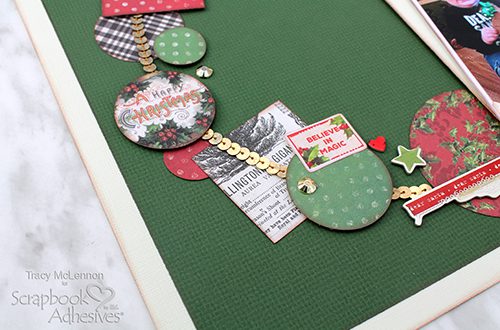
Start the layout by first creating a layered cardstock background and trace a large circle in the middle of the layout. Then I began adding patterned paper circles and squares in different sizes using the E-Z Runner® Permanent Strips Refillable Dispenser.
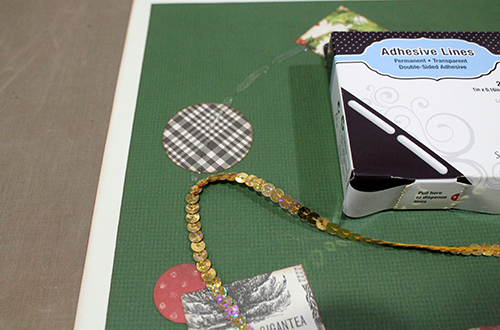
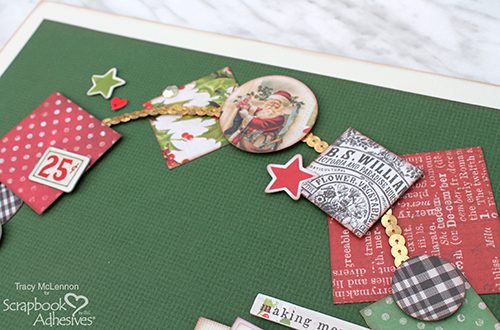
The next layer I created was this gold sequins trim circle. Add Adhesive Lines around the circle and attach the sequins trim as you go.
Mat the cropped photo in 2 layers of cardstock, and offset them adhering the layers using 3D Foam Squares White Mix and add Creative Photo Corners Ivory to the photo.
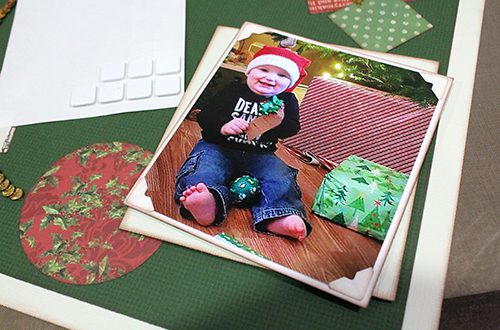
Also using 3D Foam Squares White Mix, continue adding more layers of patterned circles, squares and dies cuts. Then added a few more chipboard stickers and gems.
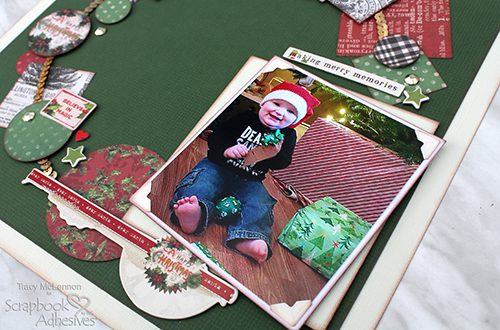
This Holiday Wreath Layout is just such a great way to use smaller bits and pieces of a favourite holiday collection.
Thanks so much for stopping by and Happy Holidays.
Tracy
Creative Time: 45 Minutes
Skill Level: Intermediate
Materials Needed
Scrapbook Adhesives by 3L®
Adhesive Lines
E-Z Runner® Permanent Strips Refillable Dispenser
Creative Photo Corners Ivory
3D Foam Squares White Mix
Other:
Cardstock (Dark Green, Ivory), Simple Stories- Simple Vintage Christmas Collection (patterned paper, chipboard stickers, die cuts), Gold Gems, Sequins Trim, 1-inch, 1.75-inch, and 2.75-inch Circle Punches
SAVE IT on Pinterest
Visit our Website and Blog!
Sign up for our Newsletter so you never miss a contest or giveaway!


