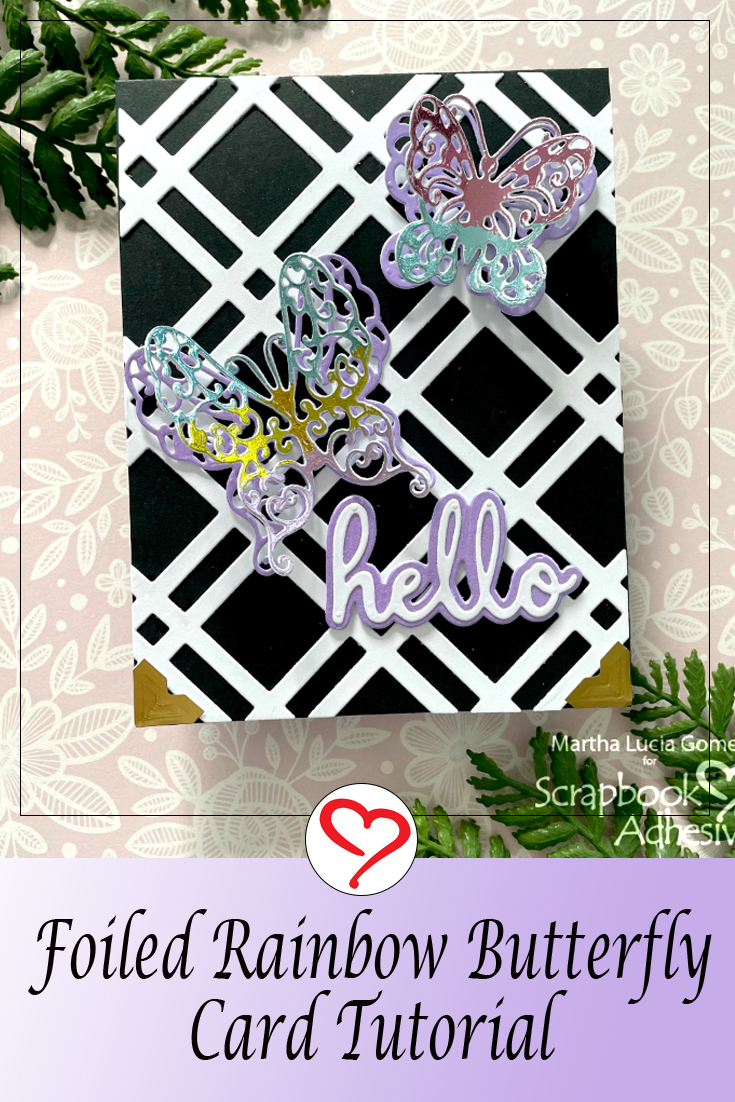
Hello crafty friends, Martha Lucia here to share an easy foiled rainbow butterfly card tutorial with lots of shine and dimensions. I love to use die cuts and add interest by applying Metallic Transfer Foil Sheets – Pastel Colors to make unique butterfly die-cuts. For dimension, I used Crafty Foam Tape White to lift my elements.
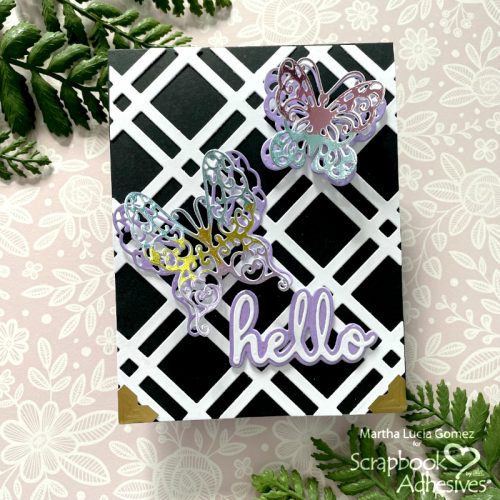
Rainbow Foiled Butterfly Card Base
The base of my easy rainbow card is basic black cardstock. I decorated it with a Plaid Card Front Thin Die. I die cut the cover plate onto white smooth cardstock and adhered it directly over the card base with Dual Tip Glue Pen. This is a fabulous liquid glue that dries clear and is very easy to manipulate.
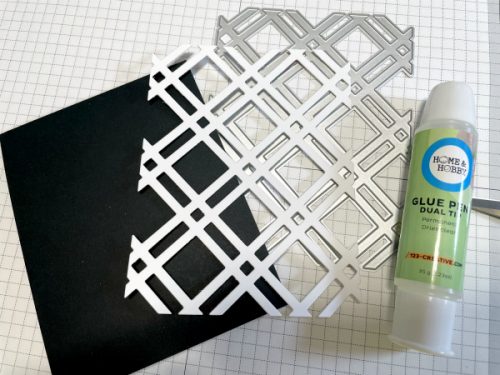
Wear Your Adhesive on the Outside with Foil
To make the rainbow foiled butterflies, apply the Adhesive Sheets on the front of a piece of white smooth cardstock, keeping in mind the size of the die cuts.
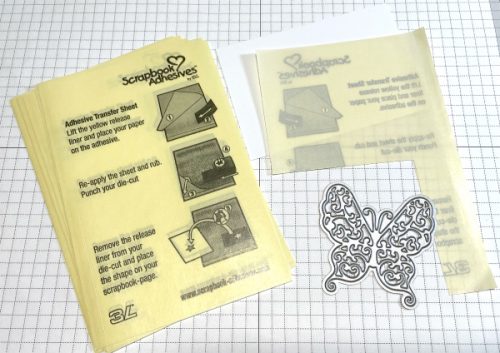
Die-cut two butterflies, making sure to cut the liner side of the white cardstock so that the front is covered with adhesives.
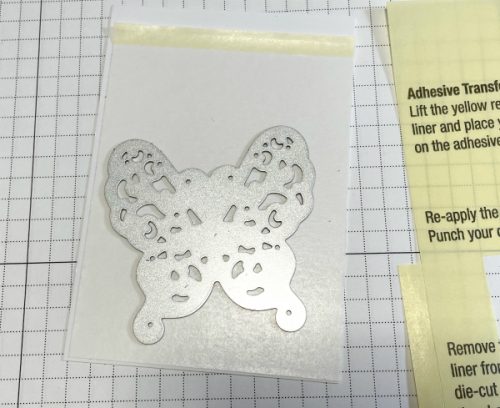
Partially remove the top liner and starting from the bottom, apply a piece of purple foil from the Metallic Transfer Foil Sheets Pastel Colors (color side UP) and rub gently with a fingertip to transfer the color. Peel off the foil. Reapply the foil in missed areas.
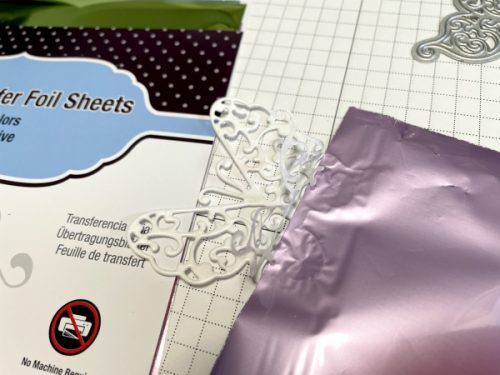
Next, add the second color (I used the yellow foil in the same Pastel set) to the middle section of the butterfly by repeating the foiling process.
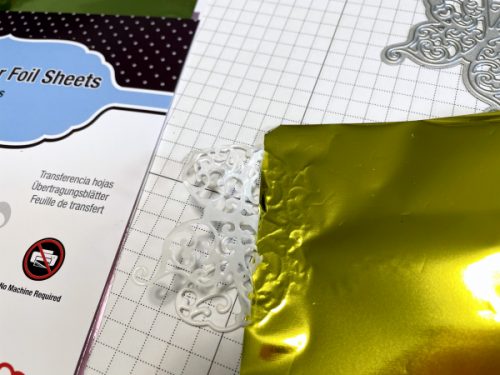
Then continue with the third color (the blue foil) to the top section by removing the rest of the liner. Done! No special tools are needed.
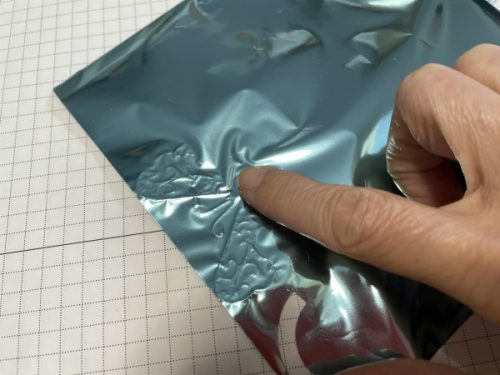
For the second butterfly, I only used two colors (the blue and purple foils) for it. Simply repeat these foiling steps to finish creating it.
Sentiment Strips and Butterfly Shadows
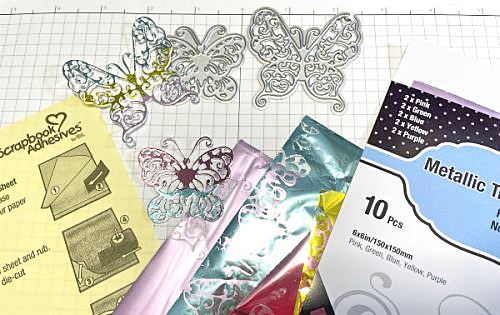
Add more elements such as butterfly layers and sentiment. First, I die-cut a small sentiment onto cardstock. Additionally, I die cut again the same two butterflies to use them, behind the foiled rainbow butterflies.
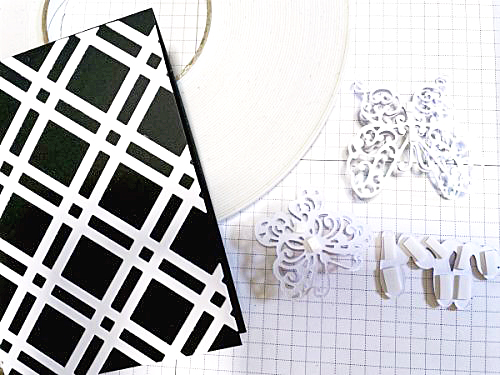
Taking this opportunity, I selected the Crafty Foam Tape White to secure the die cuts in between. Since the solid areas of the butterflies and the parts of the sentiment are very small, I can better control the size of what I want by cutting to it fit the space, and add dimension all at the same time!
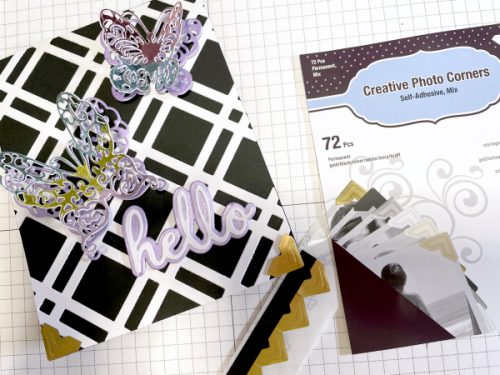
Assemble the Foiled Rainbow Butterfly Card
I placed the butterflies and sentiment over the card base with Crafty Foam Tape White. As a final touch, I added two Creative Photo Corners in Gold on the lower corners of the card base for a little more contrast.
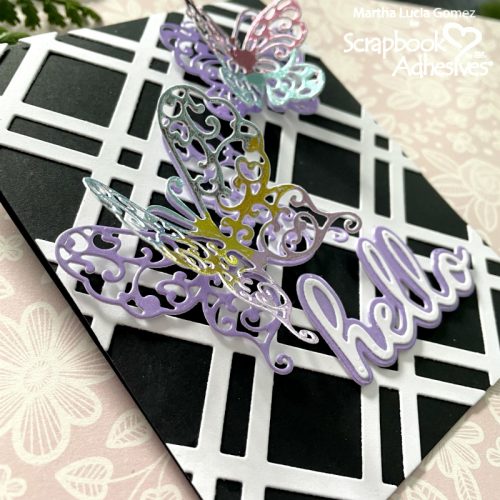
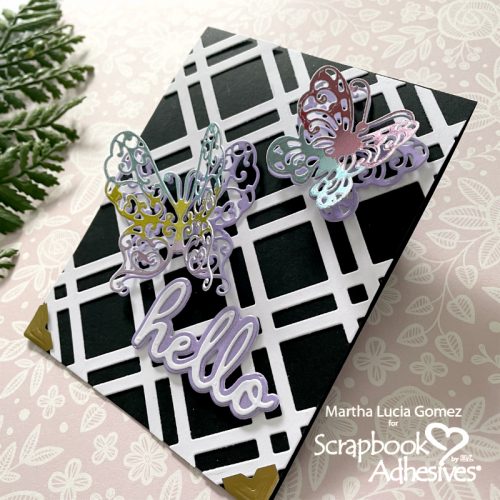
I hope you enjoyed the process of this easy rainbow foiled butterfly card tutorial. Maybe this inspired you to try different products and create your own designs!
Thanks for visiting!
Martha Lucia
Creative Time: 60 minutes
Skill Level: Intermediate
Materials Needed
Scrapbook Adhesives by 3L®
Adhesive Sheets
Dual Tip Glue Pen
Metallic Transfer Foil Sheets – Pastel Colors
Crafty Foam Tape White
Creative Photo Corners
Other: Basic Black Cardstock, White Smooth Cardstock, Hello Shadow Die Cut Sentiment by PinkFresh, Swirled Butterflies Dies by Crafter’s Companion, Plaid Card Front Thin Die by Concord & 9th
Save to Pinterest!
Visit our Website and Blog!
Sign up for our Newsletter so you never miss a contest or giveaway!


