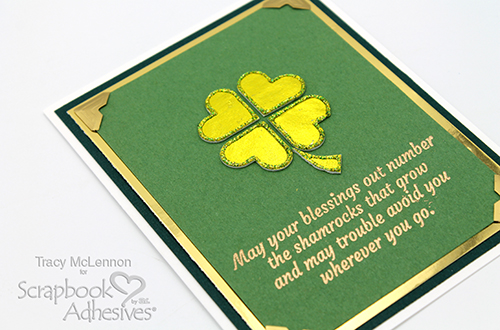
Hello crafty friends! Tracy here, and today I have such a cute and Easy Shamrock Card tutorial to share. Here are all the step-by-step details.
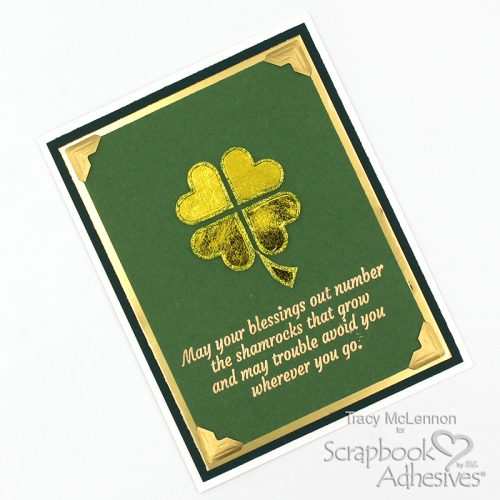
Wishing You Crafty Luck!
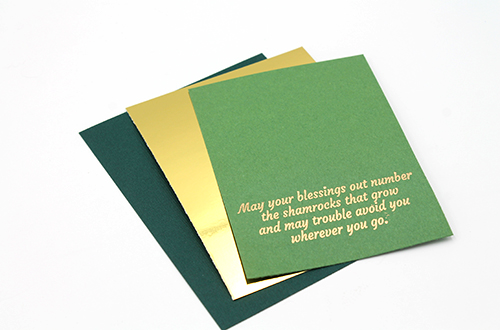
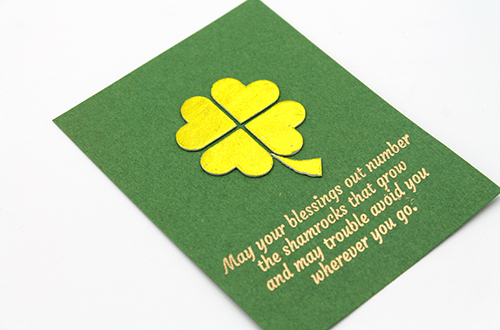
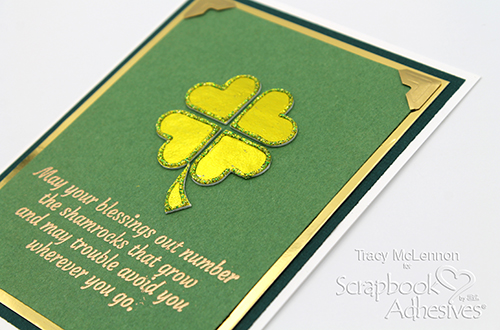
First, cut the cardstock layers for your A2 card. The top layer is green cardstock, then gold foil cardstock, and then dark green cardstock. The card base is white cardstock. Add the stamped sentiment to the bottom of the card front using an embossing pad and gold embossing powder.
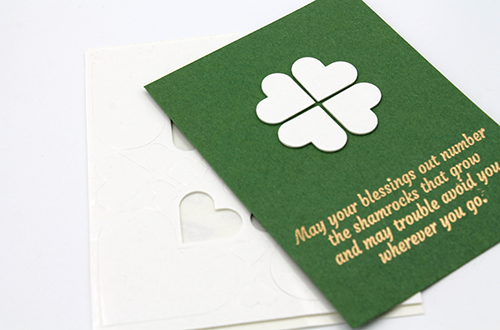
Using four hearts from the 3D Foam Hearts, create the shamrock shape on the card front.
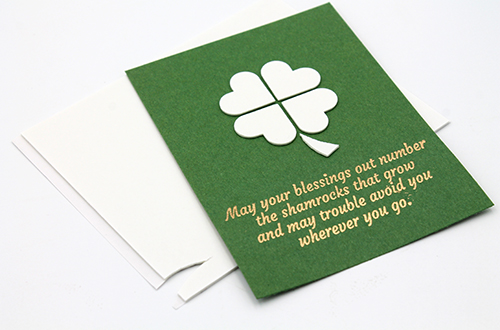
Using a 3D Foam Creative Sheets Mix, I cut out a little stem for the shamrock. Add this below the shamrock shape. Such a simple way to create this Easy Shamrock Card.
Grab the Metallic Transfer Foil Sheets Pastel Colors. Using the yellow sheet of foil from the Metallic Transfer Foil Sheets Pastel Colors, add it to the shamrock. Simply remove the liners, face the foil color side up, and rub with your fingertip to transfer the color to the adhesive.
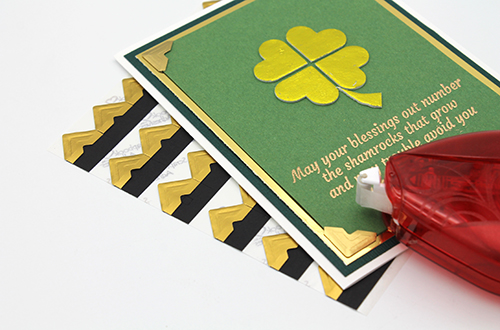
Adhere the card layers together using the E-Z Runner® Permanent Strips Refillable Dispenser, and add Creative Photo Corners Gold to the top layer of the card.
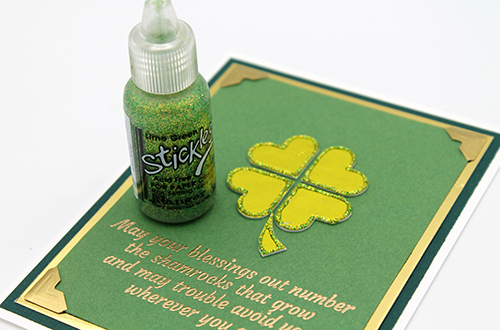
Add green glitter glue around the shamrock image. This just adds a little bit of sparkle. to the Easy Shamrock Card. Let dry completely.
Thanks so much for stopping by!
Tracy
Creative Time: 30 Minutes
Skill Level: Easy
Materials Needed
Scrapbook Adhesives by 3L®
E-Z Runner® Permanent Strips Refillable Dispenser
3D Foam Hearts
Metallic Transfer Foil Sheets Pastel Colors
Creative Photo Corners Gold
3D Foam Creative Sheets Mix
Other
Cardstock (Green, White, Dark Green); Gold Foil Cardstock; Crackerbox Stamps Sentiment; Embossing Pad; Gold Embossing Powder; Stickles- Lime Green
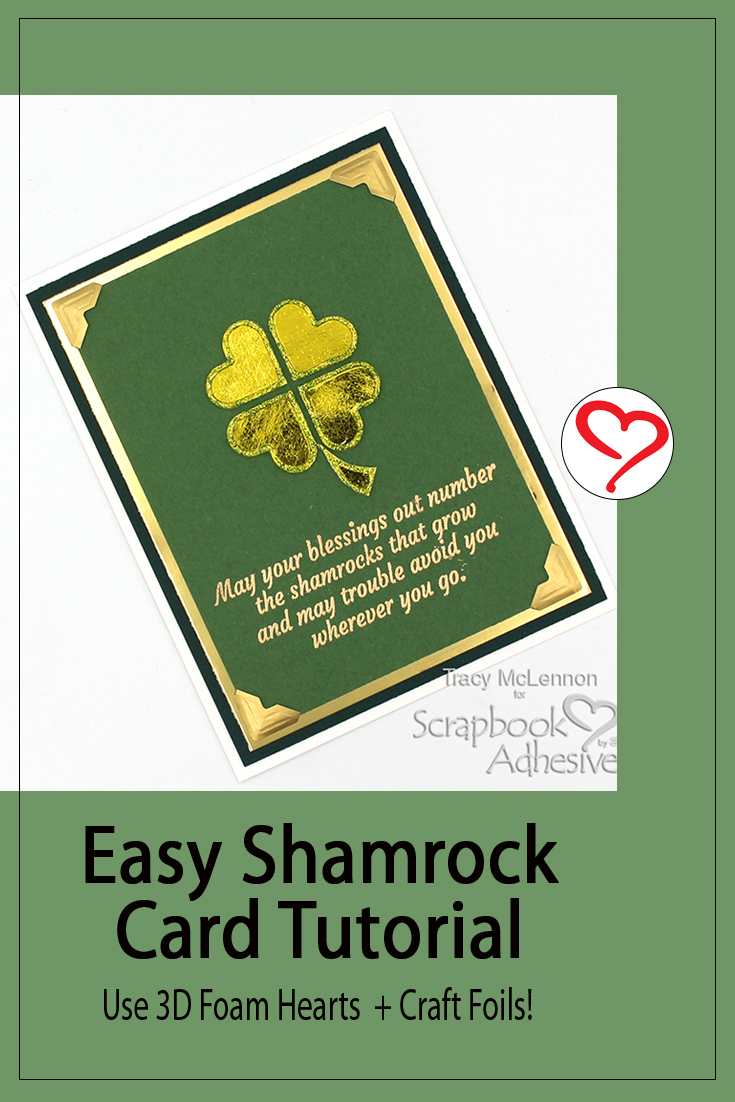
Save to Pinterest!
Visit our Website and Blog!
Sign up for our Newsletter so you never miss a contest or giveaway!


