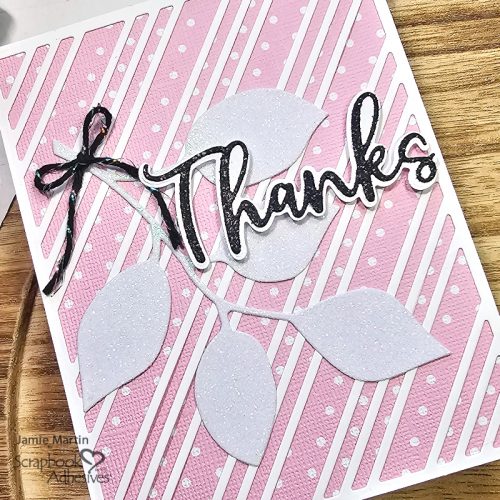
Hi, Jamie here today! Pretty cards don’t have to take a lot of time, just pretty dies and papers. This Pinky Thanks Card design can be used for any occasion that a thank you card is needed. Just change the paper patterns and colors and you’re set!
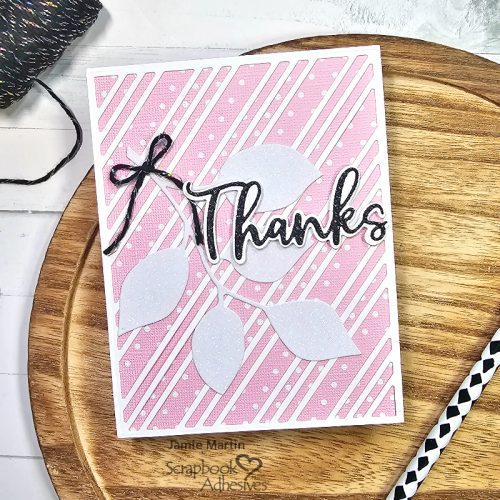
Pinky Thanks Card Front
To make my card front, I die-cut the Candy Stripes die with white cardstock and used pink patterned cardstock as a panel.
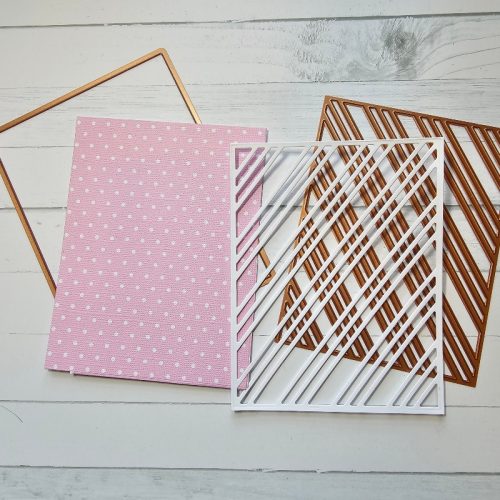
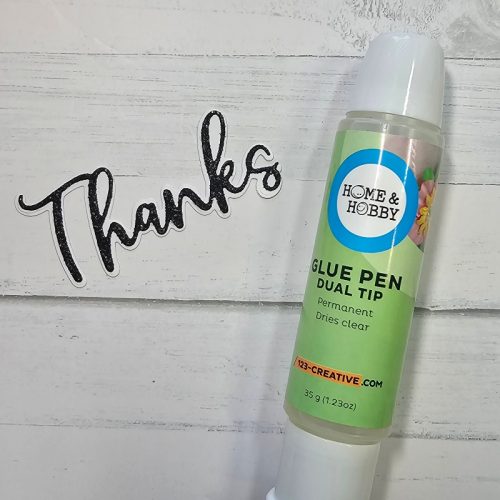
Use the Dual Tip Glue Pen to glue the white stripes on top of the pink patterned cardstock.
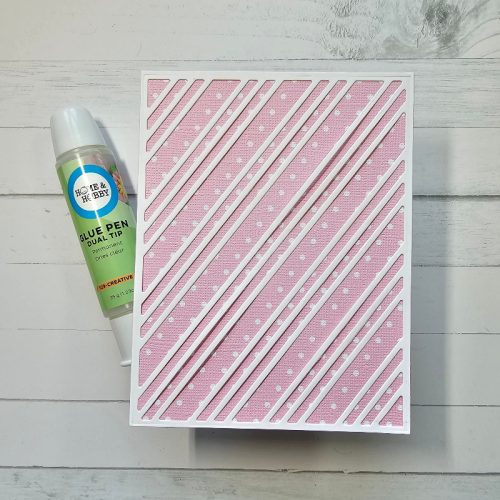
Adding Embellishments
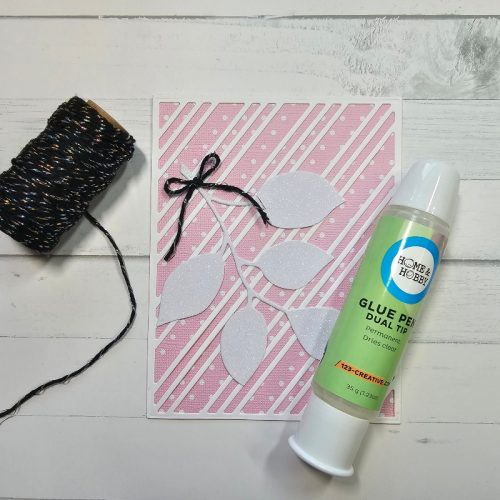
Use the Dual Tip Glue Pen to secure the white leaf die cut shape and the black twine.
Create the Sentiment
Using a Thanks die, cut it from black glitter paper and the shadow from white cardstock and glue the black glitter paper Thanks to the top of the white shadow using the Dual Tip Glue Pen.
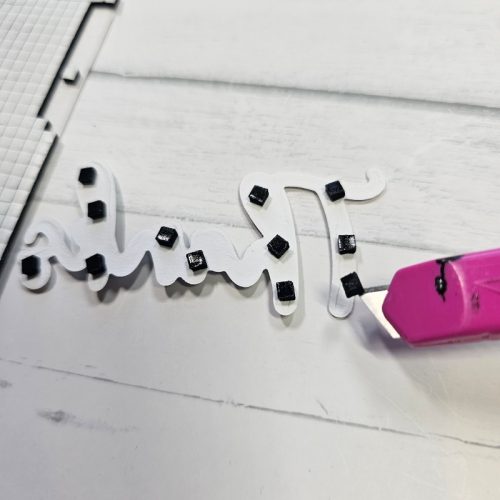
Place 3D Foam Squares Micro Black to the back of the thank you. Be sure to place enough on the back so you don’t have any parts sagging.
Finishing Up
Pop up the Thanks on the right side of the card. Attach the card front to the white card base using the E-Z Runner® Permanent Strips Refillable Dispenser.
Thanks for Visiting!
Jamie Martin
Creative Time: 30 mins
Skill Level: Intermediate
Materials Needed:
Scrapbook Adhesives by 3L®
E-Z Runner® Permanent Strips Refillable Dispenser
3D Foam Squares Micro Black
Home Hobby by 3L®
Dual Tip Glue Pen
Other:
Craft Dies: Rubbernecker Stamps (Flower #5 Die and Thanks Die) and Simon Hurley (Candy Stripes Etched Dies)
Click Preferred Retailers List
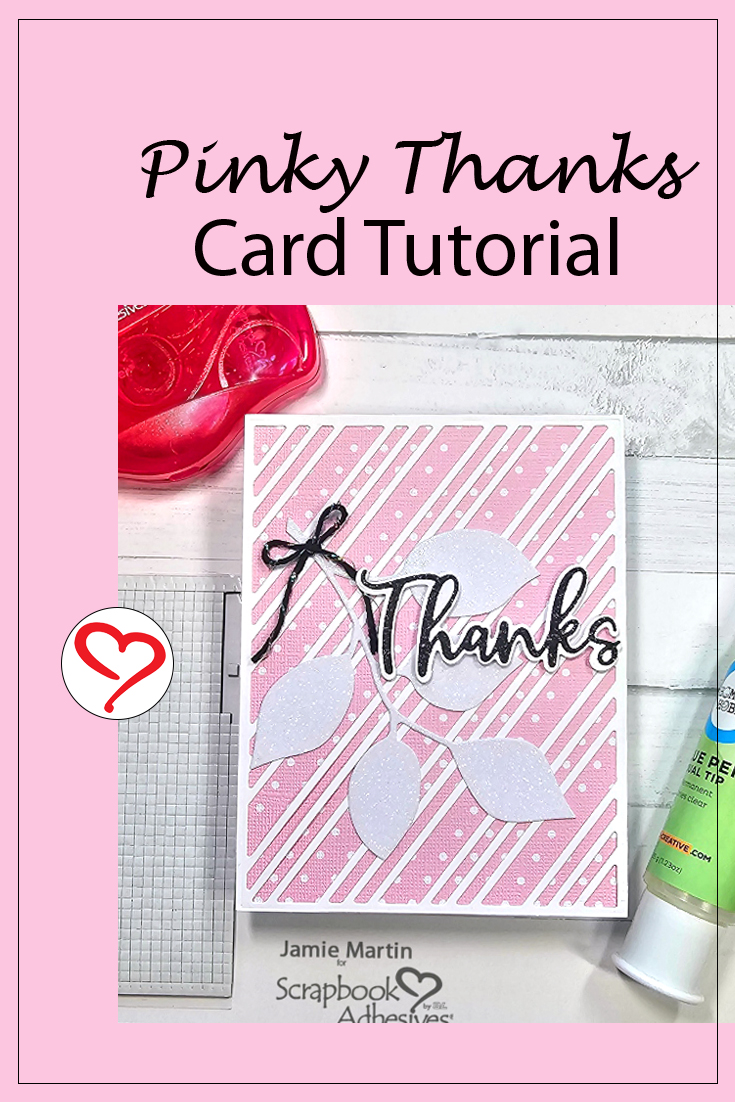
Save to Pinterest!
Visit our Website and Blog!
Sign up for our Newsletter so you never miss a contest or giveaway!


