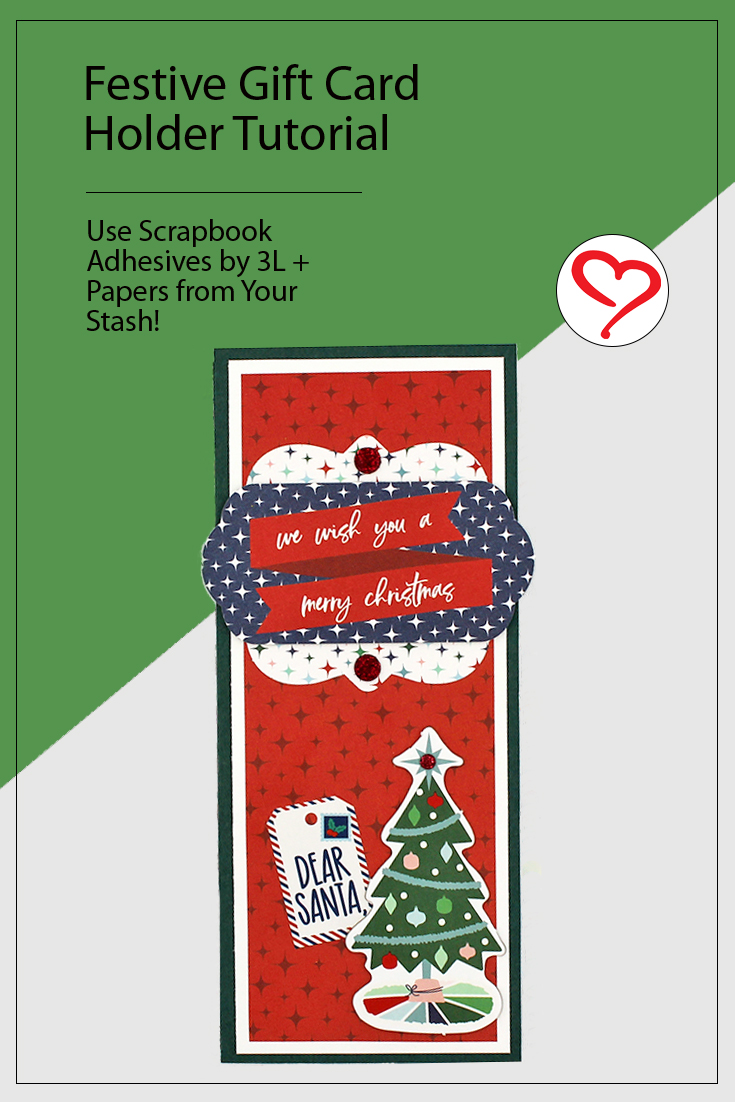
Hello crafty friends! Tracy here, and today I have a festive and TASTY gift card holder idea to share. This is the perfect way to present the practical gift of a gift card in a fun way. Here are all the details.
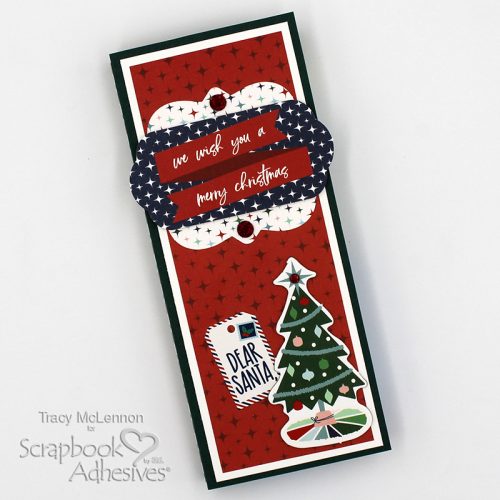
Let’s Make Giving Crafty!
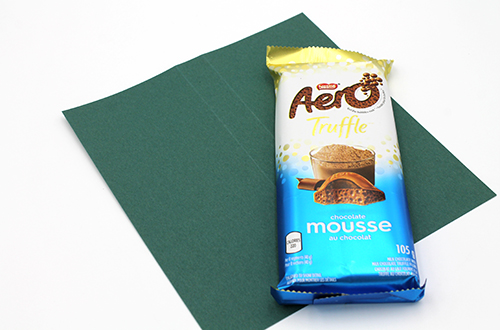
The first step with this project is to measure your chocolate bar. This will determine the measurements for the gift card booklet. You want the first measurement to be just slightly bigger than the chocolate bar. My piece of green cardstock is cut to 7.25″ (length of chocolate bar) by 6.75″. By measuring the shorter edge, score at the 3″ mark and the 3.75″ mark. Fold and create your booklet.
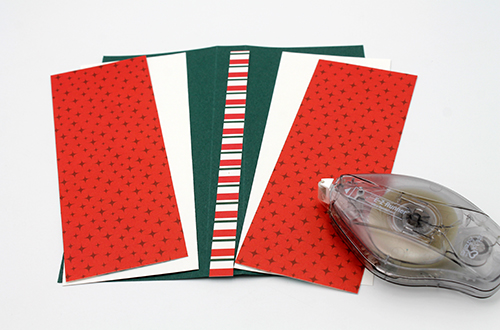
Cut the patterned paper pieces and white cardstock mats for the front, back, and side of the gift card holder.
White Cardstock- 2.75×7 (2 of them)
Red Patterned Paper- 2.5×6.75 (2 of them)
Striped Patterned Paper- 0.5×7
Adhere these layers to the gift card holder booklet using the E-Z Runner® Ultra Strong Refillable Dispenser.
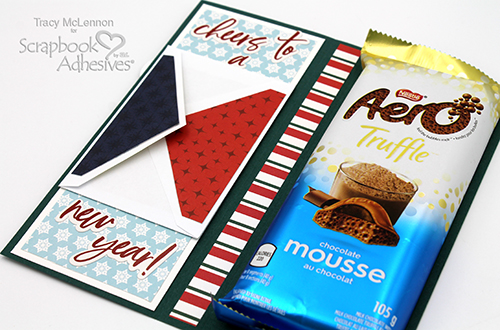
Using the same measurements are above. Cut the patterned paper to cover one side of the inside, and the middle inside strip of the gift card holder. My gift card came with this cute little envelope, so I added patterned paper to that as well. Adhere these layers together, again using the E-Z Runner® Ultra Strong Refillable Dispenser.
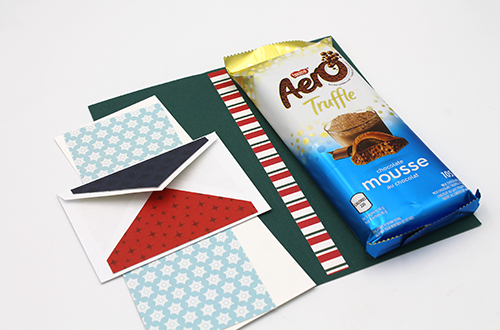
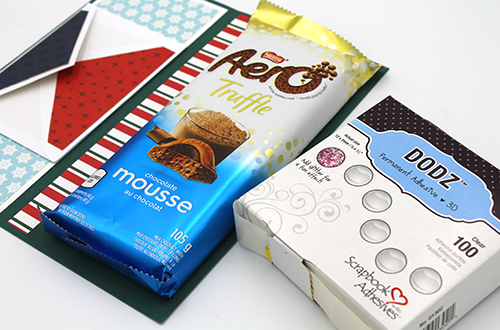
Now it’s time to attach the chocolate bar. Using Adhesive Dots 3D, add the chocolate bar to the right hand side of the gift card holder.
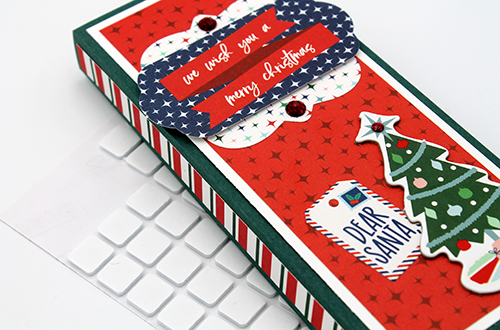
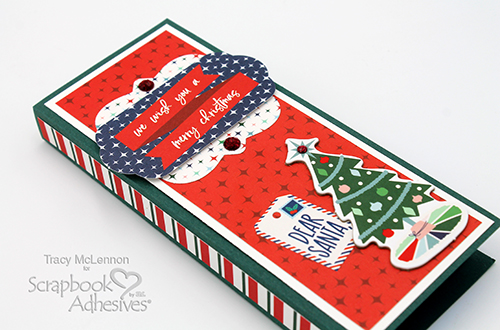
The final touches, are to add embellishments to the front of the booklet using 3D Foam Squares White Mix and the E-Z Runner® Ultra Strong Refillable Dispenser.
Thanks so much for stopping by!
Tracy
Creative Time: 40 minutes
Skill Level: Beginner
Materials needed:
Scrapbook Adhesives by 3L®
E-Z Runner® Ultra Strong Refillable Dispenser
3D Foam Squares White Mix
Adhesive Dots 3D
Other
Echo Park Paper- Happy Holidays Collection; Cardstock (White, Green); Chocolate Bar; Scoring Tool; Red Gems
Save to Pinterest!
Visit our Website and Blog!
Sign up for our Newsletter so you never miss a contest or giveaway!


